Required Instruments:
- BK Precision 8500 Programmable DC Load- Used to measure power supply output current and voltage.BK Manual
- Tektronix TDS2012C Scope-Measure Ripple and Noise of Power Supply- Tektronix Manual
- Elgar CW1251 AC Power Supply-Used to input desired AC Voltage ie 120V or 240V Elgar Manual
Client uses Instrument Class Packed Project Libraries for their test systems so various instruments can be used with common code.
Details:
Start with the BK Precision 8500 Instrument: Connect to the computer, open com port, send commands to initialize instrument, setup instrument parameters, measure parameters and repeat.
I knew it was going to be a long day when the instrument would not connect the computer...driver was not compatible with Windows 10.

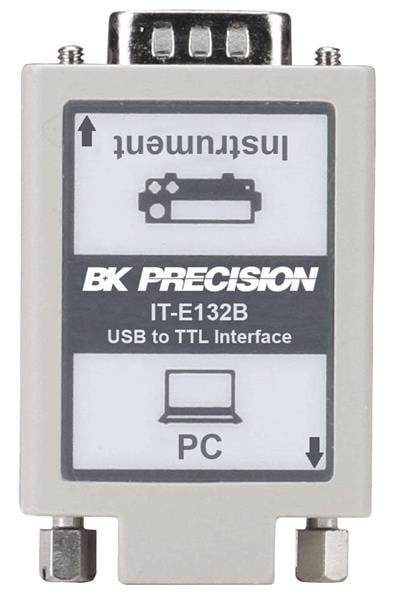
Installed Prolific driver and connected the IT-E132 isolated usb to ttl cable to Windows 10 VM and driver would not install. The dreaded ? on device manager ports would not go away. After running the PL2303 CheckChipVersion_v1006.exe and found out the chipset was the PL-2303XA which was End Of Life, and not supported in Windows 10.
Recommended solution buy the updated USB to TTL cable the IT-E132B.

$52 later installed and ? was gone...but I could not open the com port using Putty.
Doing some Reverse Engineering. Finding which pins were VCC, TX, RX and Ground for the instrument was the tricky...but using a multi meter and using common pinout examples:


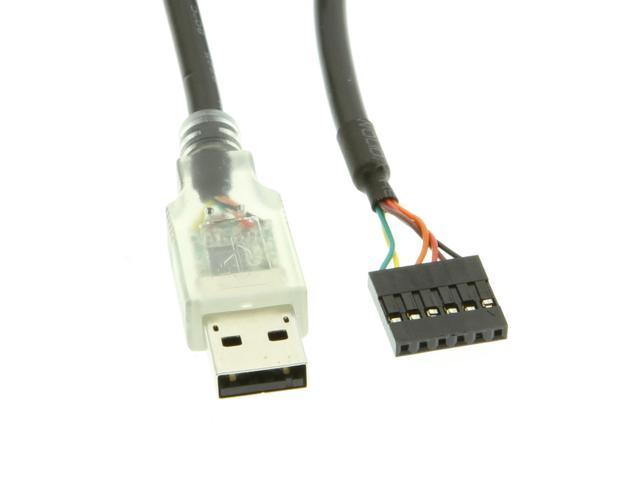
and having an FTDI TTL USB 5V cable handy. And using my bodacious soldering skills I was not going to be stopped.

Boom final product
Made my own cable of not course not isolated but it worked. Verified DIY cable by using vendor supplied LabView libraries and vis. Powered up device no magic smoke was released and hey... I can communicate to the instrument: I was able to read and write to the instrument and retrieve the Firmware Version, Product Model, and Serial Number of the BK 8500 Programmable DC Load.
So now I can start on retooling the communications objects for all the methods I need to run the test.
Start with the BK Precision 8500 Instrument: Connect to the computer, open com port, send commands to initialize instrument, setup instrument parameters, measure parameters and repeat.
I knew it was going to be a long day when the instrument would not connect the computer...driver was not compatible with Windows 10.

Installed Prolific driver and connected the IT-E132 isolated usb to ttl cable to Windows 10 VM and driver would not install. The dreaded ? on device manager ports would not go away. After running the PL2303 CheckChipVersion_v1006.exe and found out the chipset was the PL-2303XA which was End Of Life, and not supported in Windows 10.
Recommended solution buy the updated USB to TTL cable the IT-E132B.

$52 later installed and ? was gone...but I could not open the com port using Putty.
Doing some Reverse Engineering. Finding which pins were VCC, TX, RX and Ground for the instrument was the tricky...but using a multi meter and using common pinout examples:

and having an FTDI TTL USB 5V cable handy. And using my bodacious soldering skills I was not going to be stopped.

Boom final product
Made my own cable of not course not isolated but it worked. Verified DIY cable by using vendor supplied LabView libraries and vis. Powered up device no magic smoke was released and hey... I can communicate to the instrument: I was able to read and write to the instrument and retrieve the Firmware Version, Product Model, and Serial Number of the BK 8500 Programmable DC Load.
So now I can start on retooling the communications objects for all the methods I need to run the test.
But that is for another Day!


